Vue單文件組件開發實現過程詳解
第一步:配置環境
安裝cnpm
npm install -g cnpm --registry=https://registry.npm.taobao.org
安裝@vue/cli
cnpm install -g @vue/cli
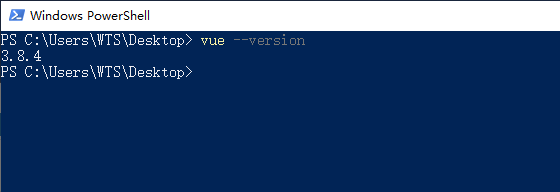
檢查版本是否正確
vue --version
使用vue.server和vue.build對*.vue文件進行快速原型開發,需要安裝vue serve
cnpm install -g @vue/cli-service-global
新建一個App.vue文件測試安裝是否成功:
<template>2 <h1>Hello world!</h1>3 </template>
在該文件當前路徑運行:
vue serve App.vue
打開瀏覽器輸入localhost:8080看到如下畫面則運行成功

環境安裝到此結束,接下來用一個簡單案例來學習vue的單文件組件開發。
第二步:簡單案例實戰
以一個物品清單為例:

該案例由4個組件構成,分別是:
1. addItem.vue 添加物品
2. item.vue 物品實例
3. items.vue 物品列表
4. changeTitle 改變標題
首先,創建一個項目demo:
vue create demo
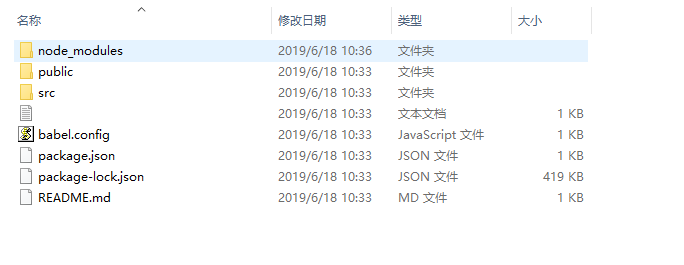
項目默認目錄如下,啟動主頁在public, vue源碼(包括組件)都存放到src
然后分別編寫各組件代碼
1. addItem.vue:
<template> <div class='input-group'> <input type='text' placeholder='add shopping list item' v-model='newItem'> <span class='input-group-btn'> <button @click='emitAdd'><i class='fa fa-plus-square-o fa-lg'> </i><span>Add</span> </button> </span> </div></template><script>export default { data() { return { newItem: ’’ } }, methods: { emitAdd() { this.$emit(’addItem’, this.newItem); } }}</script><style></style>
2. item.vue:
<template> <li : class='list-group-item'> <div class='checkbox'> <label><input type='checkbox' v-model='item.checked'><span>{{ item.text }}</span> </label> </div> </li></template><script>export default { props: [’item’]}</script><style>.removed { color: gray;}.removed span { text-decoration: line-through;}</style>
3. items.vue:
<script>import item from ’./item’export default { props: [’items’], components: { item }}</script><template> <ul class='list-group'> <item v-for='item in items' :key='item.id' :item='item'></item> </ul></template><style></style>
4. changeTitle.vue:
<template> <div> <em>Change the title here:</em> <input type='text' :value='title' @input='onInput'> </div></template><script>export default { props: [’title’], methods: { onInput(event) { this.$emit(’input’, event.target.value); } }}</script>
最后修改App.vue,導入上面的組件:
<template> <div class='container'> <h1>{{ title }}</h1> <add-item @addItem='add'></add-item><br> <items :items='items'></items> <div class='footer'> <hr> <change-title :title='title' v-model='title'></change-title> </div> </div></template><script>import addItem from ’./components/addItem’import items from ’./components/items’import changeTitle from ’./components/changeTitle’export default { name: ’app’, components: { addItem, items, changeTitle }, data() { return { items: [{id: 1, text: ’Bananas’, checked: true},{id: 2, text: ’Apples’, checked: false} ], title: ’My Items List’ } }, methods: { add(text) { this.items.push({text: text,checked: false }); } }}</script><style></style>
需要注意的是:每個組件必須只有一個根元素。我這里需要在public/index.html引入bootstrap樣式和font-awesome圖標字體。
運行程序:
cnpm run serve
最后附上運行截圖:

以上就是本文的全部內容,希望對大家的學習有所幫助,也希望大家多多支持好吧啦網。
相關文章:
 網公網安備
網公網安備